HTAN is one of the leading manufacturers of industrial hinges, handles and latches in China.


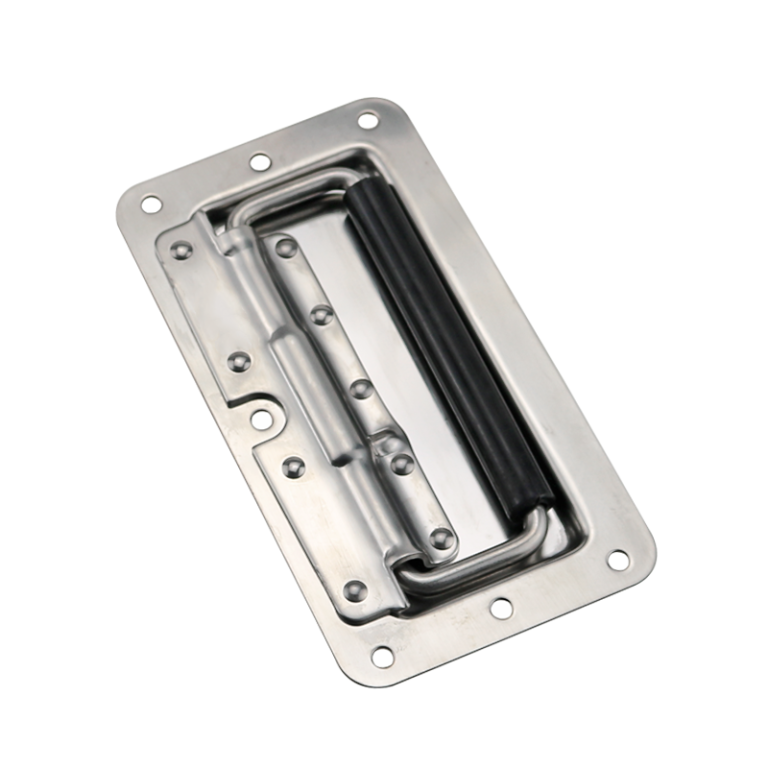
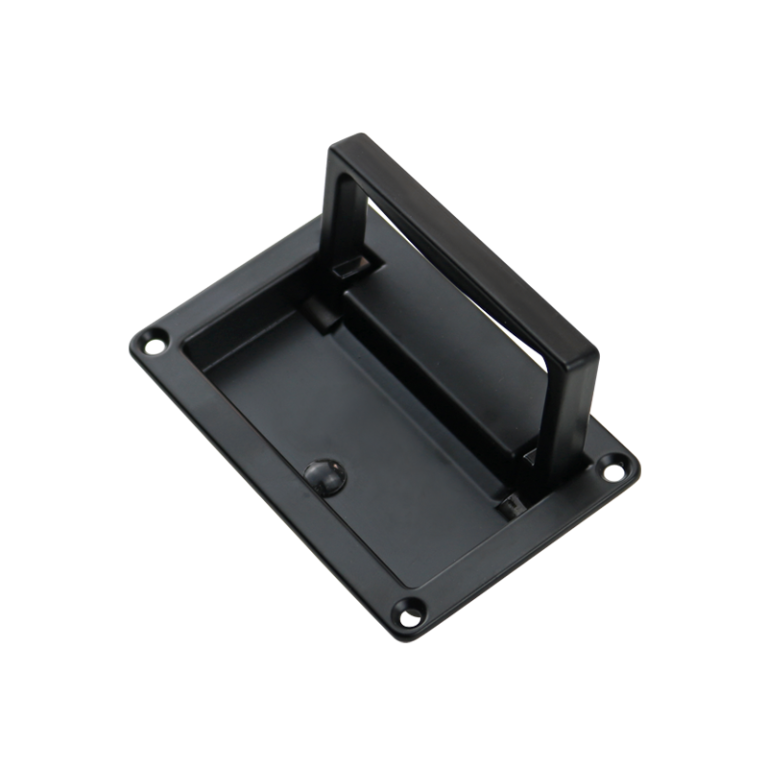
You have just finalized the Bill of Materials (BOM). You procured 316 stainless steel heavy-duty folding handles compliant with IEC 60068 environmental testing standards. They are rated for a 1000N load capacity. They passed the salt spray test.
But when your Quality Assurance (QA) team performed the first drop test, catastrophic failure occurred.
The handle itself remained intact. However, your chassis panel tore open. Or perhaps the mounting nuts were pulled straight out of the sheet metal.
This is the classic “weakest link” scenario in industrial design. A handle’s rated load is meaningless unless your Mounting Interface can support the same stress.
throughout my engineering consulting career, I have seen too many erroneous designs where industrial-grade heavy-duty handles are installed directly onto 1.0mm sheet metal without any reinforcement. This is not just an oversight; it is structural negligence.
This guide provides an execution standard for mounting heavy-duty folding handles from a structural mechanics perspective. We will ensure your chassis is just as tough as your handle.
The Physics of Failure: Why Panels Fail Before Handles
Before tightening the first screw, we need to examine the mounting point through the lens of Finite Element Analysis (FEA). Due to the lever-arm effect of folding handles, the panel withstands more than just simple shear forces.
The Oil-Canning Effect (Elastic Deformation)
When an operator pulls the handle, the force acts perpendicularly to the panel. On sheet metal chassis with insufficient thickness, this causes the mounting area to bulge elastically, similar to the bottom of an oil can.
- Consequence: This repeated flexing causes micro-cracks in the Powder Coating.
- Long-term Risk: Moisture penetrates these cracks, causing the substrate to rust and eventually leading to structural fatigue fracture.
- My Data Experience: For any folding handle with a rated load exceeding 400N, if the panel thickness is less than 1.5mm (16 Gauge) without stiffeners, the probability of the oil-canning effect occurring exceeds 90%.
Pull-Out Failure
Under dynamic loads (e.g., two people running with the equipment or climbing stairs), the instantaneous impact force on the handle can reach three times the equipment’s self-weight.
- Failure Mode: Stress concentration around the screw head or nut exceeds the Yield Strength of the sheet metal. The metal tears, and the fastener pulls out along with the handle.
- Engineering Baseline: Do not expect standard washers to solve this. You need a larger load-bearing surface area.
Reinforcement Strategies: Spreading the Load
To solve the issues above, the core engineering logic is simple: Convert Point Load into Surface Load.
The Backing Plate Strategy
This is the only solution I recommend for heavy-duty applications (single handle load >30kg).
- Execution: Add a continuous metal backing strip inside the chassis, connecting the two mounting holes of the handle.
- Dimensional Advice: The backing plate thickness should be at least 2.0mm, and the width must exceed the coverage of the handle base.
- Material Selection: If the chassis is aluminum, use an aluminum backing plate; if steel, use steel. Maintain material consistency to minimize differences in thermal expansion coefficients.
- Advantage: The backing plate distributes tensile force across the entire area between the two mounting holes. By increasing the Section Modulus, it fundamentally eliminates panel bending.
Engineered Solutions for Mass Production
If you are designing server chassis with an annual volume exceeding 5,000 units, installing individual backing plates increases labor costs.
- Recommendation: Use pre-fabricated Clinch Nut Strips.
- Operation: Spot weld or press the threaded reinforcement strip onto the inner side of the panel before sheet metal bending. This enhances the structure while saving the time workers spend securing nuts with wrenches in confined spaces.
Fastener Selection: The End of Self-Tapping Screws
In the installation of heavy-duty folding handles, the use of self-tapping screws is strictly prohibited. The industrial vibration environment (refer to IEC 60068-2-64, Broadband Random Vibration standards) will rapidly cause self-tapping screws to loosen and strip.
Rear Mounting (Through-Bolt) – The Professional Choice
This is the preferred mounting method for most high-end medical equipment and military transit cases.
- Structure: Screws pass from the inside of the chassis into threaded blind holes on the back of the handle.
- Advantage: The chassis panel is placed in a state of “compression,” which is structurally more stable than “tension.” No screw heads are visible externally, providing better security and a streamlined appearance.
- Critical Calculation: Thread Engagement
- According to the VDI 2230 standard, the depth of the screw into the handle’s blind hole must be calculated accurately.
- Recommendation: Minimum engagement depth should be 1.5 x Thread Diameter (D). For an M5 screw, you need at least 7.5mm of effective thread depth. If the screw is too short and only engages two threads, thread stripping is imminent.
Front Mounting – When Maintenance is Priority
If you must install from the outside (e.g., sealed enclosures where internal access is impossible), you must adhere to the following configuration:
- Bolt Grade: Use bolts of Class 8.8 (Carbon Steel) or A2-70 (Stainless Steel) or higher. Refer to ISO 3506-1
- Locking Measures: Must be used in conjunction with Nyloc Nuts. Ordinary split lock washers are often ineffective under heavy-duty vibration.
Engineering Tolerances: The Hidden Manufacturing Killer
The rotating mechanisms of folding handles are typically precision cast or injection molded. They are highly sensitive to the Center-to-Center (C-C) distance of mounting holes.
- Tolerance Conflict:
- The C-C tolerance of investment-cast stainless steel handles is typically +/- 0.5mm (based on ISO 8062-3 DCTG grades).
- The hole accuracy of CNC punched chassis is typically +/- 0.1mm.
- Consequence: If the chassis holes are absolutely precise but the handle has a negative tolerance, forced installation will cause the handle base to bend under stress. This Pre-stress causes the pivot shaft to bind, increasing operational resistance and even inducing stress corrosion cracking.
- My Recommendation: When designing CAD drawings, refer to ISO 2768-m (General Tolerances). Design the mounting holes on the chassis as Slot Holes, or increase the through-hole diameter by 0.5mm – 1.0mm. This leaves “breathing room” for manufacturing tolerances.
Galvanic Corrosion at the Interface
When we mount a 316 Stainless Steel handle onto a 6061 Aluminum chassis, we must reference the ASTM G82 (Galvanic Series) standard guidance.
- The Risk: The potential difference between stainless steel and aluminum is significant. In humid or salt-spray environments, the aluminum chassis acts as the Anode and corrodes rapidly. You will eventually find white powdery oxides around the mounting holes, leading to hole enlargement and loosening.
- Mandatory Execution: Never allow these two metals to touch directly.
- Insulation Shims: Use EPDM Rubber or Nylon spacers between the handle and the chassis.
- Dual Benefit: This not only physically cuts off the electrochemical corrosion path but also provides IP65/IP66 level waterproof sealing.
Installation Torque Specifications
Finally, do not let assembly workers tighten screws by feel. We need clear process parameters.
- Over-torquing: Crushes insulation gaskets leading to metal contact and corrosion; or deforms the folding mechanism, preventing the handle from returning.
- Under-torquing: Fails to generate sufficient Preload, causing screws to loosen during transport.
- Practical Advice:
- For M5 Stainless Steel Screws, I recommend setting the torque between 3.5 Nm – 4.5 Nm.
- Chemical Locking: I recommend applying medium-strength Threadlocker (e.g., Loctite 243) to the threads. This is more reliable than any mechanical locking washer.
Conclusion
Perfect industrial design is not just about selecting expensive components. It is about how those components are integrated into the system.
By adhering to backing plate reinforcement principles, calculating thread engagement depth, isolating dissimilar metals, and strictly controlling installation torque, you ensure your chassis structure can withstand the same abuse testing as your heavy-duty handles. Do not let a weak mounting interface be the excuse for expensive equipment failure.

Anson Li
文章: 595RELATED POSTS
Cabinet Flat Latches A Comprehensive Guide
Heavy-Duty Hinges: The Reliable Choice for Industrial and Commercial Applications
Torque Hinges Explained: Features, Types and Application Guide
Cam Door Latches: Key Security Solutions for Industrial and Everyday Applications
Why Is the 304 Stainless Steel Handle the Preferred Choice Across Industries?