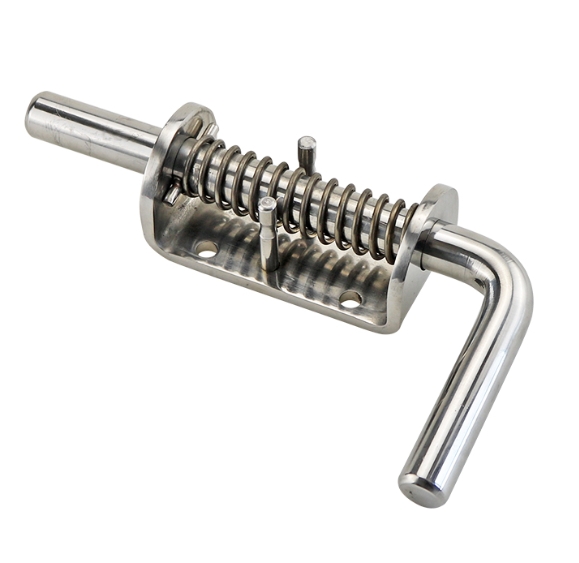
HTAN is one of the leading manufacturers of industrial hinges, handles and latches in China.


You can install or remove most removable hinges, with just a few basic tools and careful steps. Using a screwdriver or drill, you need to match the hinge type to your cabinet or door. Always take your time and double-check your work. Here are some mistakes you want to avoid:
- Measuring hinge overlay wrong can mess up door placement.
- Skipping pilot holes might split the wood.
- Not holding the door steady during removal can cause damage.
Most modern hinges, like demountable types, make the job simple since you can loosen or snap them off without much effort.
Key Takeaways
- Use the right tools like screwdrivers, measuring tape, and lubricant to install or remove removable hinges safely and easily.
- Always support the door firmly during removal or installation to prevent damage or injury.
- Measure carefully and mark hinge positions before drilling to ensure doors fit and close properly.
- Adjust hinge screws to fix alignment issues and keep doors opening smoothly without squeaks or stiffness.
- Regularly check and tighten screws, clean hinges, and apply lubricant to keep your cabinets working well for years.
Tools and Safety
Tools
You do not need a huge toolbox to work with removable hinges. Here are the tools you will use most often:
- Screwdriver (Phillips or slotted): You will use this to remove and attach screws on the hinges.
- Measuring tape: This helps you measure and mark where the hinge should go.
- Pencil: Use this to mark hinge and screw hole locations.
- Chisel: You may need this to make a shallow spot in the wood so the hinge sits flat.
- Hammer: Tap the chisel gently or help remove hinge pins.
- Pliers or vice grips: These give you extra grip if a hinge pin is stuck.
- Lubricant (like WD-40):This helps loosen stuck pins and keeps things moving smoothly.
- Soft cloth: Use this to wipe away dust or apply lubricant.
Materials
Choosing the right materials makes your project last longer and keeps it safe. For most Removable Hinges, you want strong and rust-resistant materials. Here are some good options:
- Stainless steel (grades 304 or 316): This is the best choice for most hinges. It resists rust and holds up well.
- Aluminum: Lighter than steel and still resists rust, but not as strong.
- Brass: Good for smooth movement and also resists rust.
- Zinc alloy: Used for special hinge shapes and coated to prevent rust.
- High-performance plastics (like nylon): Great for light doors or special uses.
Safety Tips
🛡️ Tip: Always put safety first! Before you start, put on work gloves, protective eyewear, and a face mask. This keeps your hands safe from sharp tools, your eyes safe from dust, and your lungs safe from paint chips.
Lay down a drop cloth to catch any debris. Work slowly and keep your fingers away from sharp edges. Always use the right tool for the job. If a hinge or screw feels stuck, do not force it—try a little lubricant and use pliers for extra grip.
Removing Removable Hinges
Preparation
Before you start taking off any hinges, you want to get everything ready. This helps you avoid mistakes and keeps your cabinets or doors safe. Here’s a simple step-by-step guide:
- Open the cabinet or door all the way. This gives you clear access to the screws and keeps the door from moving around.
- Hold the door steady. If the door is heavy, ask someone to help you. This stops the door from sagging or falling.
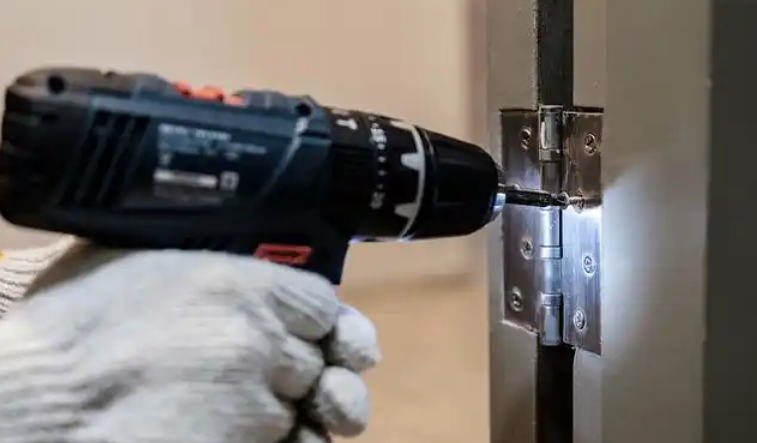
- Use your screwdriver to unscrew the hinge from the cabinet frame first. Keep holding the door so it doesn’t shift.
- Next, unscrew the hinge from the door itself. Go slow and make sure you don’t strip the screws.
- Once the hinge is off, clean the area. Wipe away dust or old paint. Check the screw holes and wood for any damage.
🛠️ Tip: Always keep your screws and hinges in a small container. This way, you won’t lose any parts during the process.
Quick-Release and Clip-On Hinges
You might find that your removable hinges uses a quick-release or clip-on design. These types make removal much easier. Here’s a table to help you see the differences and know what to do:
| Hinge Type | How to Remove |
|---|---|
| Quick-Release | Look for a pin on the hinge. Pull the pin out. The hinge will come off quickly, no tools needed. |
| Clip-On | Find the clip tab near the adjustment screw. Press or pull the tab. The hinge arm will pop off the mounting plate. |
| Concealed/European | Unscrew the fixing screw. Slide the hinge arm out of the slot or notch. |
Sometimes, you might run into problems like rusted pins or tight hinges. If that happens, spray a little lubricant on the pin. Let it sit for a few minutes. If the pin still won’t move, tap it gently with a hammer. Always wear safety glasses and gloves to protect yourself. If the hinge has a spring or locking mechanism, release it before you try to remove the hinge. For heavy doors, get someone to help you hold the door steady.
⚠️ Note: Don’t force the hinge if it feels stuck. Forcing it can bend the hinge or damage the cabinet.
Hinges Without Release Clips
Some removable hinges do not have quick-release or clip-on features. You’ll need to use a screwdriver and a bit more patience. Here’s how you can do it safely:
- Use a Phillips head screwdriver to remove the screws from the hinges. Start with the bottom hinge, then move to the top.
- If the screws are tight, use a power drill on a low setting. This helps you avoid stripping the screw heads.
- For painted or stuck hinges, slide a utility knife or putty knife along the edge. This breaks up paint or debris so the hinge comes off clean.
- If the hinge pin is stuck, use a hammer and a punch tool to tap it out gently.
- For really stubborn hinges, a pry bar can help. Place a soft cloth under the bar to protect the wood. Pry slowly and carefully.
- Always wear gloves and safety glasses. Take your time and don’t rush.
👍 Tip: Patience is your best friend here. Rushing can lead to scratches or dents in your cabinet or door.
Preventing Damage
You want your cabinets and doors to look great after you remove the hinges. Here are some ways to avoid common problems:
- Always support the door or cabinet while you work. This stops it from falling or twisting.
- Use the right tools for the job. Don’t use makeshift tools that can slip and scratch the wood.
- If you see rust or paint on the hinge pin, spray some lubricant and let it soak in. Tap the pin out gently with a hammer and nail punch.
- Never use too much force. If something feels stuck, stop and check for hidden screws or locking pins.
- Clean and lubricate the hinges after you remove them. This keeps them in good shape for next time.
- Wear safety goggles and keep your workspace clear. This helps you avoid accidents and keeps your project safe.
🧰 Pro Tip: After removing your hinges, inspect the screw holes. If they look worn out, fill them with wood filler before you install new hinges.
Removing removable hinges can be easy if you follow these steps and use the right tools. Take your time, stay safe, and your cabinets or doors will be ready for their next upgrade.
Installing Removable Hinges
Positioning Hinges
Getting the right position for your hinges is the first step to a smooth installation. Start by figuring out what type of overlay your cabinet or door uses. You might have a full overlay, where the door covers almost the whole cabinet frame (about 3/4 inch), a half overlay (about 3/8 to 1/2 inch), or an inset, where the door sits flush with the frame. Knowing this helps you pick the right hinge and get the best fit.
Next, measure the thickness of your door and cabinet frame. Most mounting plates come in sizes like 15mm, 16mm, 18mm, or 19mm. Make sure your hinge matches these measurements. If you use the wrong size, your door might not close right.
Here’s a quick guide to placing your hinges:
- For doors up to 60 inches tall, use 2 hinges.
- For doors between 60 and 90 inches, use 3 hinges.
- For doors over 90 inches or heavy doors, use 4 or more hinges.
- Place the top hinge about 5 to 7 inches from the top edge.
- Place the bottom hinge about 10 to 11 inches from the bottom edge.
- If you need a middle hinge, put it halfway between the top and bottom hinges.
📝 Tip: Always mark your hinge spots with a pencil before you drill. Double-check your marks with a measuring tape to avoid mistakes.
You should also check the cup hole diameter if you use concealed hinges. Make sure the hinge fits the hole. Think about how wide you want the door to open—most people choose 90°, 110°, or even 165°. Pick a hinge that matches your needs.
Attaching Hinges
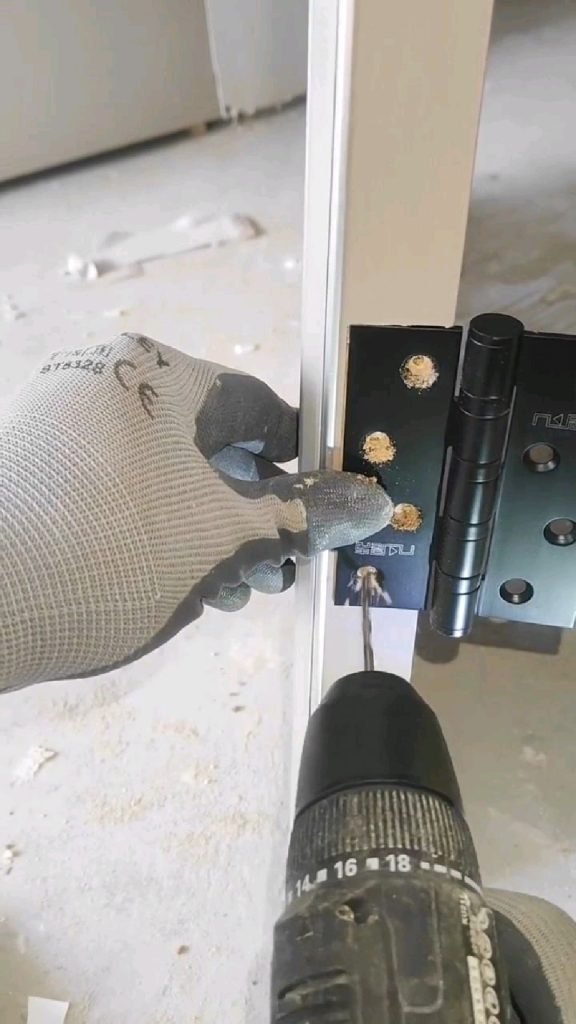
Now you’re ready to attach your hinges. Start by lining up the hinge plate with your pencil marks on the cabinet frame. Hold the plate steady and use a screwdriver to drive in the screws. Always start with the center screw if your hinge has one. This keeps the plate from shifting while you add the other screws.
If you use removable hinges, you’ll notice some have a clip-on or quick-release design. These make your job easier. Just snap or clip the hinge arm onto the plate until you hear a click. For slide-on types, slide the hinge arm into the plate and tighten the locking screw.
Here are some best practices for a strong, long-lasting installation:
- Use screws that are long enough to hold the hinge firmly, usually 3 ½-inch for doors.
- Pre-drill pilot holes to stop the wood from splitting.
- Make sure the hinge sits flush with the surface. If it sticks out or sinks in, your door won’t hang straight.
- Don’t over-tighten the screws. Tighten them just enough to hold the hinge snugly.
⚠️ Note: If your door is heavy or you live in a humid area, pick corrosion-resistant hinges like stainless steel. This helps your hinges last longer.
Securing and Testing
Once you’ve attached all your hinges, it’s time to hang the door and check your work. Lift the door and line up the hinge arms with the plates on the cabinet or frame. If you use lift-off or slip-joint hinges, match the leaves to the pin and slide them together. For clip-on types, push until you hear a click.
Before you tighten everything, check the alignment. Use a level to make sure the door sits straight. The door should be flush with the frame and not stick out or sag. If you see gaps or the door rubs, adjust the hinge position by loosening the screws and moving the hinge slightly.
Here’s a simple checklist for testing your hinges:
- Open and close the door several times. It should move smoothly without scraping or sticking.
- Check that the door sits flat against the frame and latches properly.
- Use a level to make sure the door is plumb (straight up and down).
- If you notice any problems, adjust the hinges and test again.
- For a final check, try the paper test. Close the door on a piece of paper. If you can pull the paper out easily, the door might be misaligned.
🧪 Pro Tip: Most beginners can install removable hinges on a standard cabinet door in about 20 to 30 minutes. Take your time and don’t rush. A careful job now saves you trouble later.
Regularly inspect your hinges for loose screws or signs of wear. Tighten any loose screws and add a drop of lubricant if you hear squeaks. If you follow these steps, your removable hinges will work smoothly and last for years.
Adjustments and Troubleshooting
Alignment
Getting your cabinet or door perfectly aligned can feel tricky, but you have some helpful tools right on your hinges. Most removable hinges come with special adjustment screws. Here’s a quick table to show you what each screw does:
| Adjustment Screw Type | Function for Alignment |
|---|---|
| Vertical Adjustment Screw | Controls up and down positioning of the door. Turn clockwise to lift, counterclockwise to lower. |
| Horizontal Adjustment Screw | Moves the door left or right for even spacing. |
| Depth Adjustment Screw | Brings the door closer or farther from the cabinet face. |
| Tension Adjustment Screw | (On soft-close hinges) Changes how hard the door closes. |
| Overlay Adjustment | Adjusts how much the door covers the frame. |
To fix a crooked door, start by loosening the right screw. Move the door gently in the direction you need, then tighten the screw again. Always check your work with a level. Open and close the door a few times to make sure it swings smoothly and lines up with the frame.
🛠️ Tip: If your door still looks off, double-check that all screws are tight and the cabinet itself is level.
Squeaks and Stiffness
Squeaky or stiff hinges can get annoying fast. Most of the time, dirt, dust, or lack of lubrication causes the problem. Here’s how you can fix it:
- Remove the door from the hinge pins if possible.
- Wipe the hinge pins and barrels with a clean cloth to get rid of grime.
- Spray a silicone-based lubricant or apply a little white lithium grease to the hinge parts. Avoid oil-based sprays—they attract dust.
- Put the door back and swing it open and closed a few times to spread the lubricant.
Some great products for this job include CRC Power Lube, WD-40 Specialist Silicone, and DuPont Teflon Silicone Lubricant. These keep your hinges quiet and protect them from rust.
💡 Note: Regular cleaning and a quick spray of lubricant every few months will keep squeaks away.
Loose Screws
Loose screws can make your door sag or even fall off. This usually happens from repeated use or if the screw holes get stripped. Here’s what you can do:
- Tighten any loose screws with a screwdriver.
- If a screw won’t tighten, remove it and fill the hole with toothpicks or matchsticks dipped in wood glue. Let it dry, then put the screw back in.
- For bigger holes, use a wooden dowel and glue, then drill a new pilot hole.
- Replace worn screws with longer or thicker ones for a stronger hold.
🧰 Pro Tip: Always drill pilot holes before adding new screws. This helps prevent splitting the wood and keeps your hinges secure.
With these simple fixes, you can keep your cabinets and doors working smoothly for years!
You can handle removable hinges like a pro if you follow these simple steps:
- Open the door fully and steady it with blocks or books.
- Remove old hinges with a screwdriver, then align and attach new ones.
- Test the door and adjust screws for a perfect fit.
Take your time and double-check alignment. Using the right tools and safety tips makes the job easier. Many beginners say step-by-step guides help them get great results. With a little practice, you can achieve a smooth, professional finish!
FAQ
How do I know if my hinge is removable?
Most removable hinges have a clip, pin, or quick-release tab. You can check for these features by opening the door and looking at the hinge. If you see a tab or pin, your hinge is likely removable.
Can I reuse old screws when installing new hinges?
You can reuse old screws if they are not stripped or rusty. If the screws look worn out, grab new ones for a stronger hold. New screws help your hinges last longer and keep your door secure.
What should I do if my door won’t close after installing new hinges?
Check the alignment first. You might need to adjust the screws or move the hinge slightly. Try opening and closing the door a few times. If it still sticks, loosen the screws, realign the door, and tighten them again.
Do I need special tools for soft-close or European hinges?
You usually need only a screwdriver and a measuring tape. Some European hinges have extra adjustment screws. A small flathead screwdriver helps with those. You do not need any fancy or expensive tools for most jobs.

Anson Li
文章: 576RELATED POSTS
Redefining Modern Design with Compact Torque Hinges
Cabinet Door Handles The Ultimate Guide
Best Equipment Door Hinge Solutions
Beyond Waterproofing: A Consultant’s Guide to UV-Resistant Outdoor Handles

Industrial Hinge Selection Guide: Leaf Thickness, Load & Durability