






Industrial hinges, handles and latches for OEM equipment.
- +86 13720060320


Flat Latch Identification: Flush, Recessed & Low-Profile
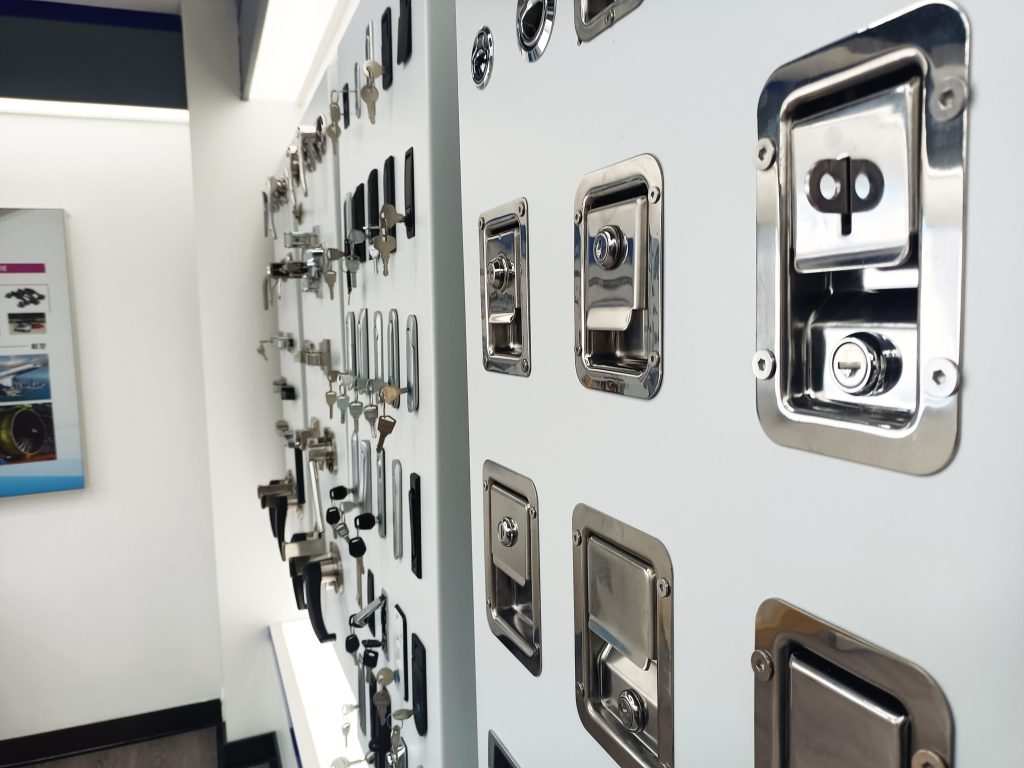
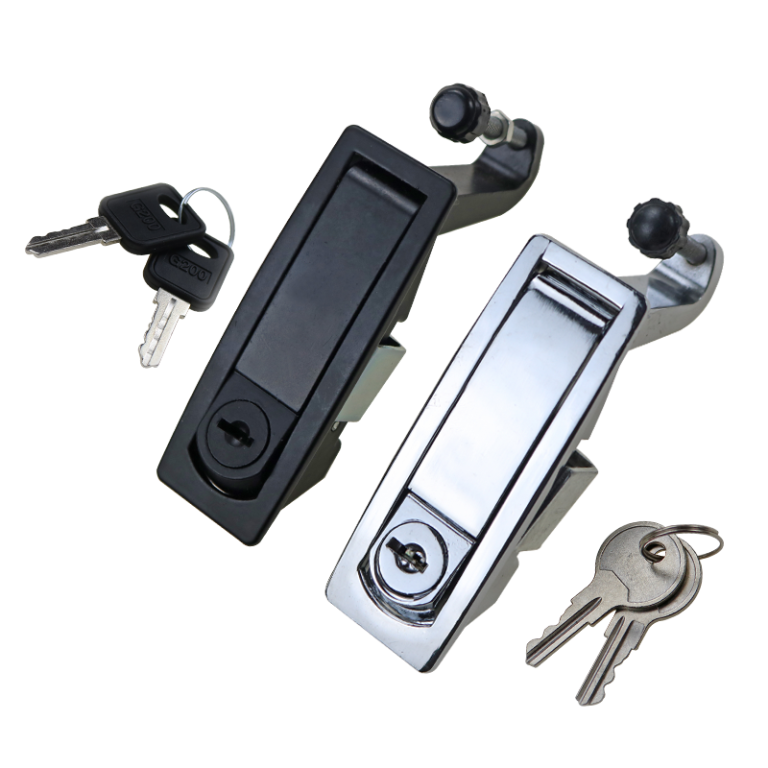
A latch may appear simple from the front but still be difficult to replace correctly. Two products can have a similar flat or recessed face while using different panel cutouts, rear housings, mounting methods, cams, keepers, or closing actions.
That is why a front photograph or the name “flat latch” is usually not enough to approve a replacement. The visible profile must be checked together with the rear mechanism and the existing panel geometry.
This flat latch identification guide explains how to distinguish flat, flush, recessed, and low-profile designs, how to identify the mechanism behind the front face, and what measurements to record before requesting a replacement.
Quick Answer
In this guide, “flat latch” is used as a practical umbrella term for enclosure latches with a flat, flush, recessed, or relatively low-profile external form.
The visible profile does not identify the complete locking mechanism. A flat-looking actuator may operate a rear cam, a compression mechanism, a recessed linkage, or a spring-loaded catch.
Scope of this guide: This page is limited to terminology, identification, panel fit, and replacement measurements. It does not calculate cam grip range, specify gasket compression, compare stainless steel grades, assign security ratings, or determine IP enclosure performance.
What “Flat Latch” Means in This Guide
Suppliers do not always use the terms flat, flush, recessed, and low-profile in exactly the same way. One catalog may describe a latch as flat because its handle projects less than a standard knob. Another may describe a similar product as flush-mounted because the actuator sits close to the panel surface.
For replacement work, the product name should therefore be treated as an initial search term rather than final proof of compatibility.
The final identification should be based on:
- The position of the actuator relative to the panel surface
- The panel cutout and mounting pattern
- The space required behind the panel
- The movement of the handle or actuator
- The way the latch engages the frame or keeper
When supplier terminology conflicts, the product drawing and installation geometry should be used as the final reference.
Flat vs. Flush vs. Recessed vs. Low-Profile
These terms describe how the visible part of the latch relates to the door or panel. They do not necessarily describe how the door is retained.
| Term | Typical panel relationship | How to recognize it | What remains unknown |
|---|---|---|---|
| Flat latch | Relatively low external profile | Projects less than a conventional knob, wing handle, or T-handle | The exact mechanism and closed projection |
| Flush latch | Operating face sits close to the panel surface | Very little projection when the latch is closed | Whether the actuator rotates, lifts, pushes, or pulls |
| Recessed latch | The handle or actuator sits inside a panel recess | Usually requires a formed, rectangular, or round panel opening | The required rear depth and linkage arrangement |
| Low-profile latch | Some projection remains above the panel | Lower than a standard projecting design but not fully flush | Whether the remaining height is acceptable |
A latch can fit more than one description. For example, a recessed product may also have a flush external face. This is another reason to use dimensions and operating action instead of relying on the product name alone.
Why External Projection Matters
Reducing the distance between the actuator and the panel surface can solve several physical-layout problems.
Clearance
A lower profile can reduce interference with a frame, adjacent cabinet, sliding component, or another open door.
Snag Reduction
Less exposed hardware can reduce contact with clothing, cables, packaging, straps, and maintenance tools.
Impact Protection
A recessed actuator may receive less direct impact during transport, handling, or movement through a restricted space.
A flatter external profile does not automatically improve strength, sealing, security, corrosion resistance, or service life. Those properties depend on the internal mechanism, materials, mounting structure, keeper engagement, and complete door assembly.
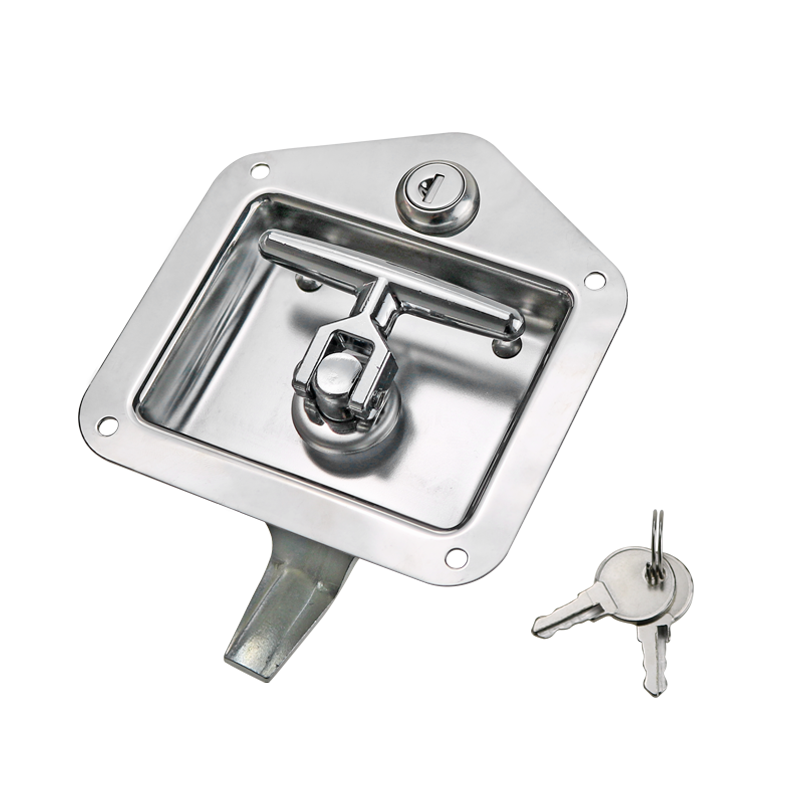
Identify the Mechanism Behind the Front Face
Operate the latch while watching the rear of the door. The movement behind the panel is usually more useful than the shape of the visible handle.
| Observed action | Likely mechanism | Identification clue |
|---|---|---|
| The actuator rotates a metal arm behind the panel | Cam-operated latch | A rear cam turns behind the frame or strike |
| The actuator rotates and then pulls the door inward | Compression latch | The mechanism creates a second pull-in movement |
| A handle lifts from a recessed cup and moves a linkage | Paddle or recessed-handle mechanism | The handle and rear linkage work as one assembly |
| The door engages the latch when pushed closed | Slam or spring-loaded mechanism | The catch engages without manually rotating the actuator |
| An exposed lever pulls two separate parts together | Draw or over-center latch | The main mechanism remains outside the panel |
Continue With the Correct Mechanism Guide
If the actuator turns a rear arm behind the frame, continue with the cam latch selection guide.
If the mechanism also pulls the door inward after engagement, review the separate compression latch sealing guide.
This page stops after identifying the mechanism. Cam dimensions, gasket compression, pull-in travel, and enclosure sealing are covered by those dedicated guides.
What to Measure for a Replacement Flat Latch
A latch with a similar front shape may still fail to fit the existing door. The panel opening, mounting points, rear housing, and frame engagement must all be compatible.
Replacement Measurement Checklist
- Panel cutout: Width, height, diameter, corner radius, and overall shape
- Panel thickness: Actual material thickness at the latch position
- Front flange: Visible width and height around the cutout
- Closed projection: Distance from the panel surface to the highest external point
- Rear depth: Space required behind the panel when installed
- Mounting pattern: Screw holes, studs, clips, retaining nut, or other attachment points
- Door-to-frame relationship: Position of the door relative to the frame or strike
- Cam or keeper position: Orientation, centerline, engagement point, and closing direction
- Handle movement: Rotation, lift, push, pull, or spring-return action
- Handing: Left-hand, right-hand, reversible, or non-handed configuration
Measure the door and frame rather than relying only on the removed latch. Enlarged holes, adapters, damaged panel edges, spacers, or a modified keeper may prevent a visually similar product from fitting correctly.
Six-Step Replacement Identification Workflow
| Step | Action | Purpose |
|---|---|---|
| 1 | Photograph the front, side, rear, open-door, and closed-door views | Documents both the visible profile and rear mechanism |
| 2 | Operate the latch slowly and record its movement | Identifies whether it rotates, pulls in, lifts, pushes, or self-engages |
| 3 | Measure the existing panel cutout and thickness | Confirms whether the replacement body can enter and cover the opening |
| 4 | Record the cam, hook, bolt, or keeper engagement | Shows how the latch retains the door |
| 5 | Check the available space behind the panel | Prevents interference with wiring, shelves, insulation, or framing |
| 6 | Install and test one representative sample | Verifies fit and operation before production approval |
Four Fit Checks Before Approval
| Fit check | What to verify | Potential problem if missed |
|---|---|---|
| Front profile | The flange covers the cutout and the closed projection remains acceptable | Visible opening, exposed edge, or unwanted protrusion |
| Rear clearance | The housing and moving components clear internal equipment | Binding, incomplete travel, or installation interference |
| Keeper engagement | The cam, bolt, hook, or linkage engages without forcing the door | Loose retention, overload, or incomplete closing |
| Operating access | The user can grip and release the actuator in the available space | Difficult operation, especially with gloves or restricted access |
Do Not Force a Near-Match Into the Existing Cutout
Overtightening screws, bending the rear cam, using an improvised spacer, or enlarging the panel opening without checking the drawing can hide a mismatch during installation.
The result may be panel distortion, loose hardware, poor keeper engagement, incomplete operation, or damage around the cutout.
When a Low External Profile Is the Wrong Priority
A flat or recessed appearance should not override the main closing and operating requirements. Another mechanism or installation style may be more suitable when:
- The door needs a controlled pull-in movement against a gasket.
- The operator wears thick gloves and cannot reach a shallow recessed actuator.
- There is not enough space behind the panel for the recessed housing.
- A large cutout would weaken a thin or unsupported door.
- The application requires an external over-center pulling action.
- The required locking or access-control feature is unavailable in the selected design.
- The existing panel cannot be modified and no compatible cutout is available.
Information to Send With a Replacement Request
A concise replacement request should include enough information for the supplier to identify both the external profile and the rear mechanism.
- Clear front, rear, side, open-door, and closed-door photographs
- Panel cutout dimensions and panel thickness
- Closed external projection and available rear clearance
- Mounting-hole or stud pattern
- Cam, keeper, hook, bolt, or linkage position
- Door opening direction and actuator movement
- Whether a key, tool, or locking cylinder is used
- Whether the door is pulled inward after initial engagement
- Required quantity and whether panel modification is permitted
After identifying the external profile and rear mechanism, review the available industrial latch configurations for product-specific options.
Frequently Asked Questions
Is a flat latch the same as a flush latch?
Not always. Flat is often used broadly for low-projection hardware, while flush normally indicates that the operating face sits close to the panel surface. Supplier terminology varies, so use the product drawing and installation dimensions as the final reference.
Can I identify a replacement latch from the front photograph alone?
Usually not. A front photograph does not show the panel cutout, rear housing depth, mounting method, internal mechanism, or cam and keeper position.
What measurements are needed for a replacement flat latch?
Record the panel cutout, panel thickness, front flange, closed projection, rear depth, mounting pattern, actuator movement, and the position where the latch engages the frame or keeper.
Does a low-profile latch provide better sealing?
Not automatically. Sealing depends on the closure mechanism, gasket design, door stiffness, keeper position, and the compression created when the door is closed.
Conclusion
A flat latch should not be identified from its front appearance or product name alone. Flat, flush, recessed, and low-profile describe how the visible hardware relates to the panel, while the mechanism behind the door determines how the latch actually retains or pulls in the door.
Begin by documenting the external profile. Then inspect the operating movement, panel cutout, rear clearance, mounting pattern, and keeper engagement. This separates a latch-identification task from the later mechanism-specific selection process.
Need Help Identifying an Existing Latch?
Send HTAN clear front and rear photographs, the panel cutout, panel thickness, closed projection, rear clearance, and keeper position. These details help determine whether the existing hardware uses a cam, compression, recessed-handle, slam, or another closing mechanism.